✎ Key Takes:
» You can cancel your QuickBooks Online subscription by accessing your account through a PC browser, navigating to “Account and settings” from the settings option, and canceling the subscription under “Billing & Subscription.”
» If canceling a QuickBooks Trial subscription, go to the related website, access “Billing & Subscription” from “Account and settings,” and click on “Cancel Trial” or “Cancel” under the trial subscription to end the trial period.
Contents
How To Cancel QuickBooks Subscription Online:
Here are the steps below to cancel QuickBooks subscription:
Step 1: Open & Sign in to QuickBooks Online
The first step you have to follow is to open the web browser of your choice on your PC. In the search bar of your Google page, you have to type in “QuickBooks Online” and press the “Enter” key on your keyboard.
In the search results, click on the required result to go to the QuickBooks Online page to sign in. You have to then sign in using your account-related credentials as an admin. This will lead you to QuickBooks Online’s account homepage, which will help you continue.
Step 2: Go to Settings
After you have reached the main page of QuickBooks Online, after signing in to your account, you will notice an option on the top right end of the screen shaped like a gear; this is the Settings option.
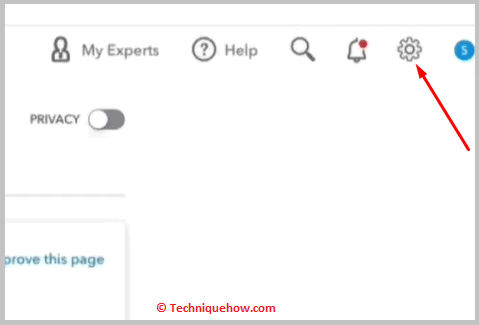
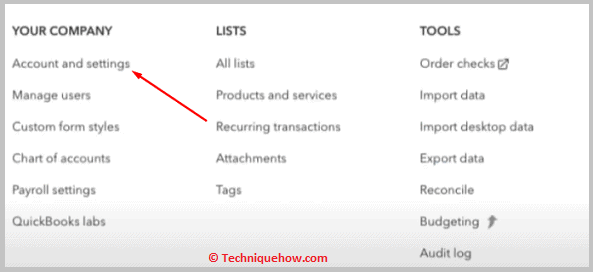
You have to click on this. As soon as you do that, you will see a floating notification with a set of options in columns. In the first column with the title “YOUR COMPANY”, you will see an option directly under it called “Account and settings”. You have to click on this to proceed.
Step 3: Go to Billing & Subscription
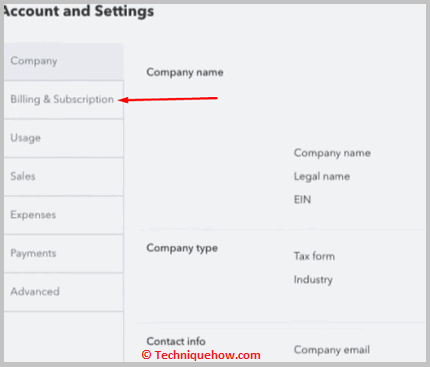
After you click on the option “Account and settings”, a new and related page will appear. You will notice a list of options on the left side of the screen, one below the other. Each option will open a related tab.
By default, the “Company” tab will remain open, and the screen’s right side will consist of related options. Focus your attention to the left of the screen, where the list of options is. Here, you will see that under the “Company” option, there is an option that says “Billing & Subscription”. You have to click on this option.
Step 4: Click on Cancel subscription
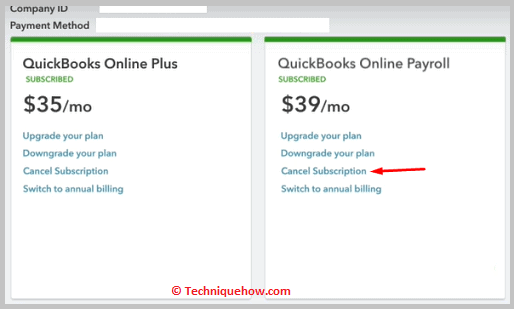
After clicking on the option “Billing & Subscription” from the collection of options to the left, you will notice that the related tab appears on the right side of the screen. Here you will find an assortment of all the QuickBooks subscriptions that you currently have.
Each subscription will have certain options under it, which will allow you to change your subscription, such as upgrading it to a better one or even downgrading it to save money. Hover to the area that contains the subscription you wish to delete and click on the option available towards the bottom that says “Cancel Subscription”. You have to click on this, and your subscription will be canceled.
How to Cancel QuickBooks Online Trial Subscription:
To cancel the trial, follow the steps below:
🔴 Steps To Follow:
Step 1: Open a web browser like Chrome on your PC and go to the search bar. You have to then search for QuickBooks Online and go to the said page.
Step 2: Go on and sign in to your account using your account’s credentials.
Step 3: Click on the Settings option -shaped like a gear- available at the top right corner of the screen.

Step 4: In the following floating notification, you have to click on the first option, “Account and settings”.

Step 5: In the next tab, you will be in the “Company” tab area, which is also the default; click on the option “Billing & Subscription” visible on the left side of the screen below the Company tab option.

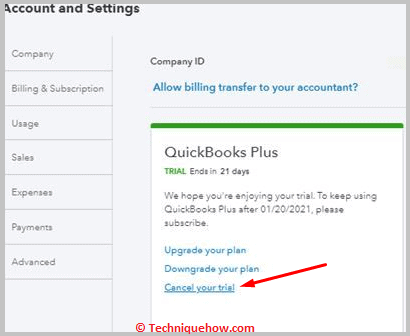
Step 6: Here you will see your active QuickBooks subscriptions. Hover over the QuickBooks Online Trial subscription and click on the option under it allotted for the cancellation of a trial subscription.
How to Cancel QuickBooks Subscription on iPhone:
Follow the steps below:
🔴 Steps To Follow:
Step 1: To cancel your QuickBooks Subscription from your iPhone, you must go to your iPhone device’s homepage and look for the App Store icon. Then, click on it when you find it.
Step 2: Once the app opens, you will notice an icon at the top right corner of the screen that is a miniature of your profile picture.
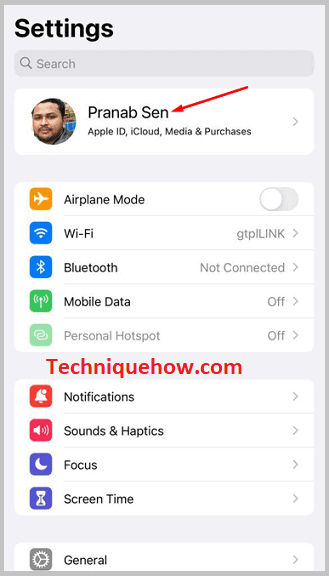
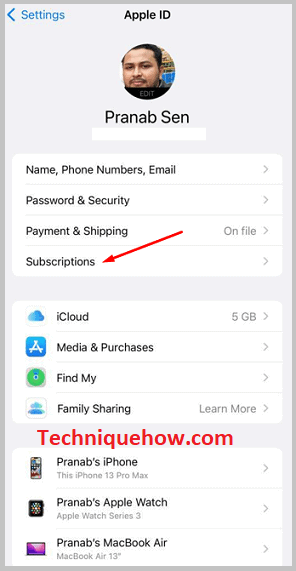
Step 3: As a result, the “Account” tab will open. Here you will see options to make changes to your account. One of the options presented here will be the “Manage Subscriptions” option.
Step 4: After clicking on the options, the page will take quite some time to load your active subscriptions; you will have to wait patiently.
Step 5: The “Subscriptions” tab will open as a result. Among these “ACTIVE” subscriptions, one of them will be QuickBooks. You have to click on this to load the “Edit subscription” tab.
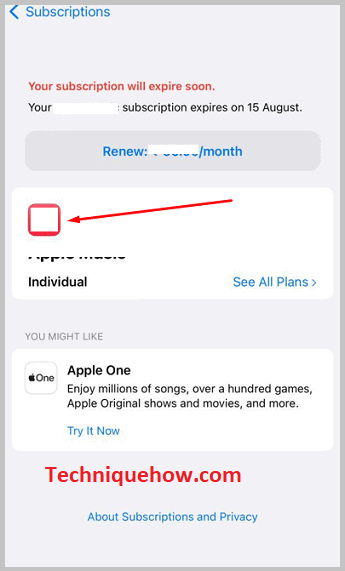
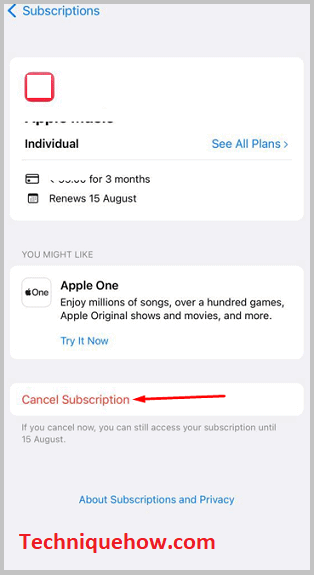
Step 6: In the “Edit Subscription” tab, click on the option at the bottom that says “Cancel Subscription” to cancel your subscription.
✎ Cancel QBO subscription – Quick Note:
Yes, it is very much possible for you to cancel your QuickBooks subscription easily. This can be done directly from Intuit using your web browser. However, the problem is that the cancellation can only be done from your PC.
It will not be possible to cancel your subscription from your mobile device. You will just have to visit the QuickBooks Online website, sign in to your registered account, and follow one of the methods mentioned below to be able to cancel your subscription easily.
