✎ Key Takes:
» You can get a Cash Card on the Cash App using an iPhone by installing the app from the App Store, accessing the Cash Card icon, and selecting “GET FREE CASH CARD.”
» You can customize your Cash Card by choosing a color, adjusting settings like displaying or hiding the Cashtag, and adding your signature. Provide your email and personal details for card delivery.
» If you’ve received the Cash Card, activate it on your iPhone by navigating to the Cash Card icon in the Cash App, tapping “Activate Cash Card,” and either scanning the QR code or manually entering the CVV and expiry date to complete the activation process.
How To Activate Cash App Card:
Here are the steps to activate the Cash Card after you receive it:
Step 1: Open Cash App & Tap Cash Card icon
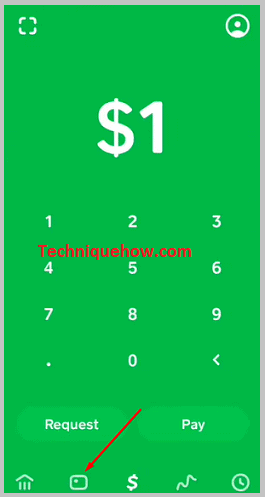
The first step you have to follow to activate a Cash Card is to open the Cash App from the home screen of your iPhone. Once the app opens, you’ll see a menu bar at the bottom of the screen with a set of five options.
Select the second option from the left that resembles a rectangle. This is the Cash Card icon. Clicking on it will lead you to the Cash Card tab, where the Cash Card that you received will be.
Step 2: Tap on ‘Activate Cash Card’
Once you are in the Cash Card tab, you will notice a notification at the bottom of your screen; this will have five options related to your cash card. The third option here will say “Activate Cash Card”.
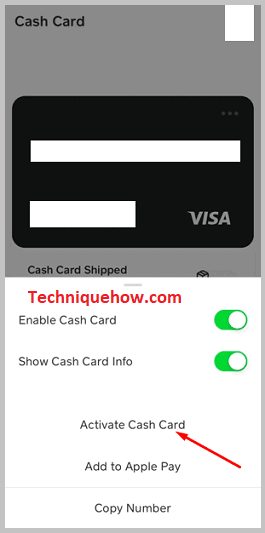
You have to click on this option to continue further. Clicking on the option “Activate Cash Card” will lead you to a new area where you will find the QR code screen. Here, what you have to do is, scan the QR code present on your Cash Card.
Step 3: Scan the QR Code
After you have tapped on the “Activate Cash Card” option and reached the QR code screen, you have to scan the QR code on your Cash Card to activate it. However, it might happen that you cannot find any QR code visible on your Cash Card. In that case, tap on the option at the bottom of the screen that says “MISSING QR CODE”.
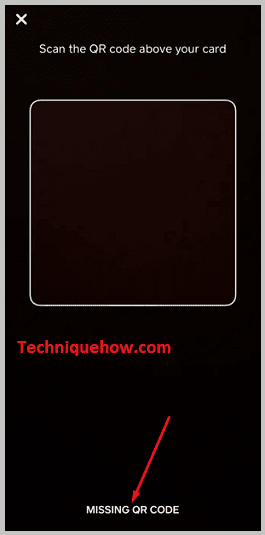
Then, you will be asked to enter the CVV and expiry date related to the card in use. Once you have typed in the correct CVV and expiry date, your Cash Card will be activated and ready to use.
How To Get Cash App Card:
Follow the below steps:
Step 1: Install Cash App & Open
The first step you have to follow to get a cash card is to go to App Store, you have to, then, type in “Cash App” in the search bar at the top of the screen. Then, in the search results, go to the Cash App and download and install it.
Now you have to go to your phone’s home screen and wait patiently. As soon as the app icon appears on the home screen, you must click on it to open it.
Note: You can install the Cash App directly by going to the following link: https://apps.apple.com/us/app/cash-app/id711923939.
Step 2: Tap on Cash Card icon from Bottom
Once you have opened the Cash App, you will be on the main page. Next, you have to move your focus to the set of options visible at the bottom of the screen. Here, you will find a collection of five icons.
The second icon from the left will be in the shape of a rectangle. This is the cash card icon. You have to click on this. The action of clicking on the Cash Card icon will lead you to the next page, which is the Cash Card tab.

Step 3: Tap on GET FREE CASH CARD
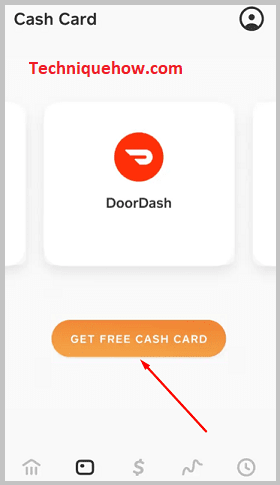
Under the Cash Card section, you will see various things, such as coupons for different services that you can swipe through; there will also be an account option at the top right corner and a collection of icons at the bottom.
There will, however, be another option. You will notice an orange option below the coupons section that says “GET FREE CASH CARD”. This is the option that you have to click on. This action will lead you to a new tab that will help you continue the customization process.
Step 4: Choose Card & Customize
Once you have tapped on the “GET FREE CASH CARD” option, you will reach the customization part of the process. Under this section, you will be asked to pick a color for your card.
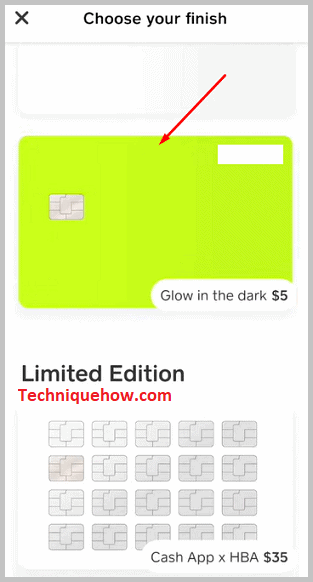
Then, you have to click on “Continue” after you have chosen a color for the card. There will also be a Cashtag on the card, and you can choose for it to either be present or hidden. For this, you have to look at the bottom, where you will find the option “Show $Cashtag”. You have to enable this option. Then, tap on “Next” to continue.
Step 5: Add Signature & Send to Email
Once you’re done adding a color of your choice and enabling the Cashtag option, you have to now add your signature. There will be an empty white space on the screen where you will have to draw your signature.
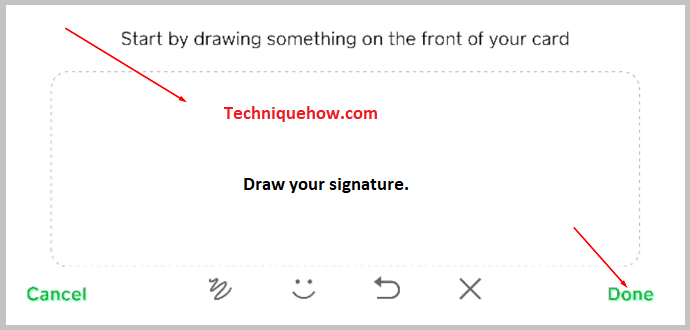
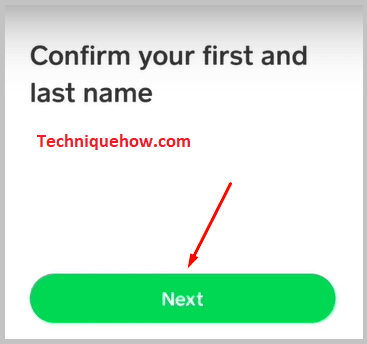
You can undo and redo it until you like how it turned out. Once that is done, you have to tap on the option “Done” which is at the bottom of the screen. You will then be asked to type in your email address, tap “Next”,; type in your first and last name, and tap “Next” again.
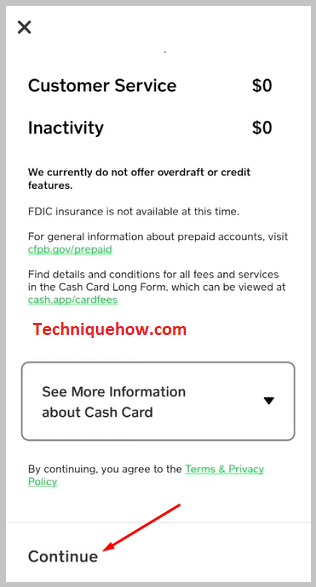
Finally, you must read through the guidelines and tap on “Continue”.
