✎ Key Points:
» To remove the password from a Word document, you can upload the password-locked file on the online tools and bypass the password lock.
» You can zip the Docx file and then modify the files to bypass the password from the protected Word document.
» If you want to do it through the tool or software then you can use the Passper password recovery tool which would work perfectly for unlocking your Word document.
You can disable or remove the password and it’s a much easier process when you have the password with you. Then you can just enter the old password and disable the password on the Word document.
Contents
How To Remove Password From Word Document:
If you have a Word document file that is password-locked then you can unlock it online.
1. Using LostMyPass Tool
You can remove the password of your Word document using the online tool: LostMyPass.
Step 1: Fill out the captcha if asked then Drop the file to upload online.
First of all, go to: https://www.lostmypass.com/file-types/ms-word/.

Step 2: You can choose the file from your device to upload to remove the password from it.
Step 3: Confirm the process and the tool will remove the password.
Then you’ll be able to open it without any password and view it.
2. Using Passper Password Recovery
You can use the tool to remove passwords. You need to have it downloaded and installed on your device to use it to remove passwords from Word documents.
🔴 Steps To Follow:
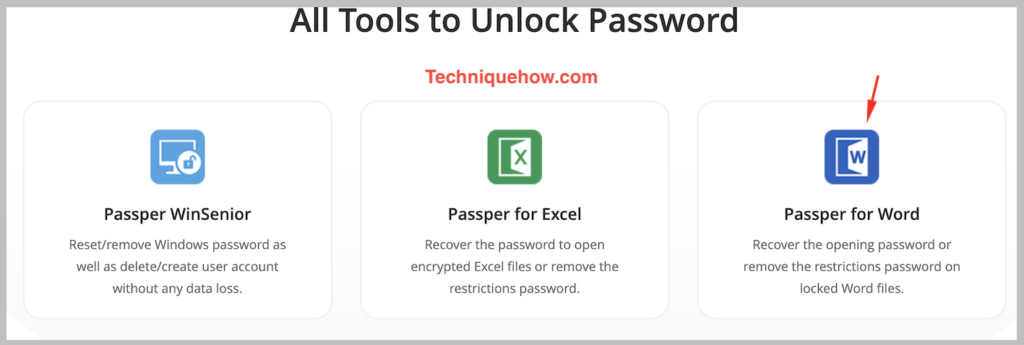
Step 1: Download and install the Passper tool on your device and then launch it.
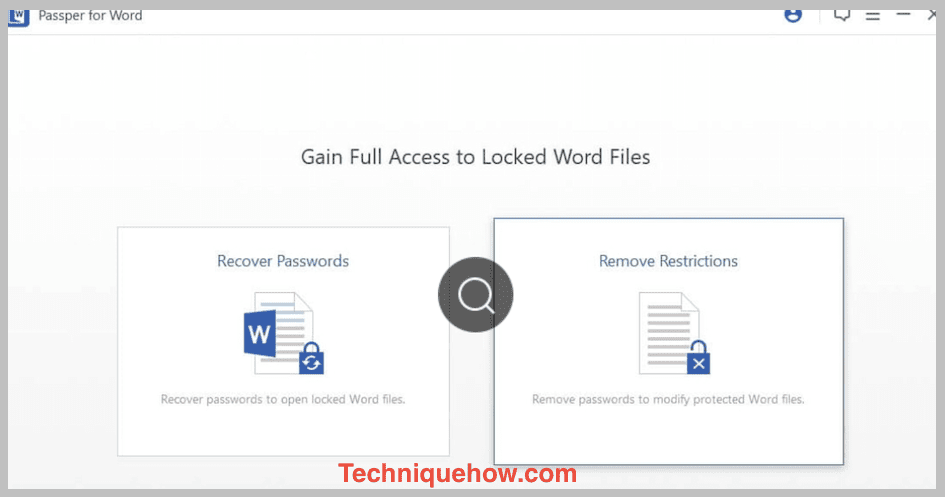
Step 2: Choose the option Remove restrictions out of the two choices offered.
Step 3: For the next step, upload the file on the tool and then tap on the ‘Remove password’ option.
Now the software will perform its process to remove the password restrictions of the document.
As soon as it’s done, you’ll be able to see that Restrictions on the Word file have been removed successfully and now you can modify & edit the document without any password.
3. Disable Password Protection
You can disable the password protection of your Word files. If you can remember the password, then the process might become much simpler.
🔴 Steps To Follow:
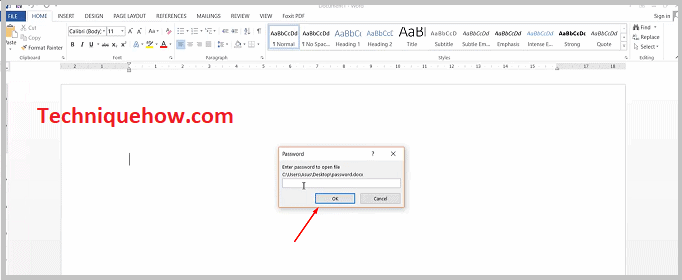
Step 1: Firstly, open the document by entering the password.
Step 2: Now you’ll be able to see the option File at the top left corner of the screen.
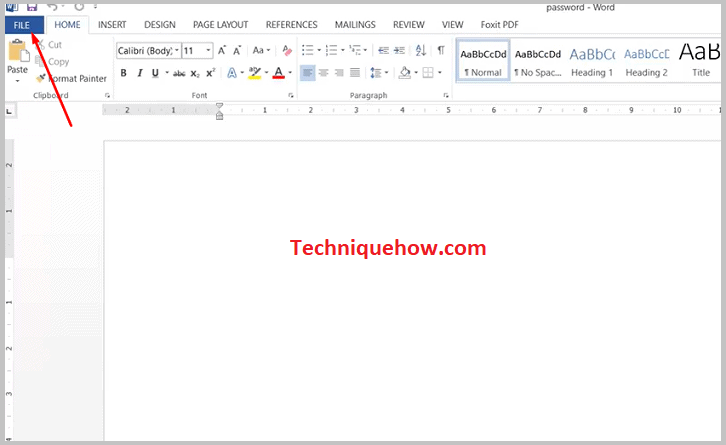
Step 3: Click on it and it will display a set of drop-down choices.
Step 4: Click and head onto the Info section.
Step 5: Then click on the option Protected Document.
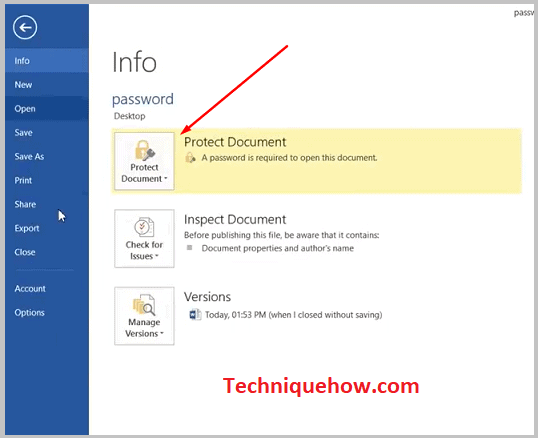
Step 6: Out of the two prompt options, choose the option Encrypt with a password.
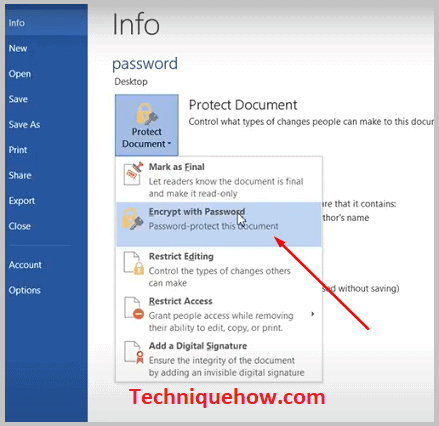
Step 7: Now you’ll be displayed with the password box.
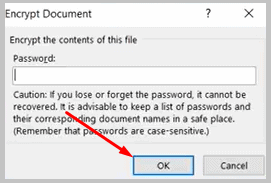
Step 8: Clear or untick the box and then click on OK to save the new settings.
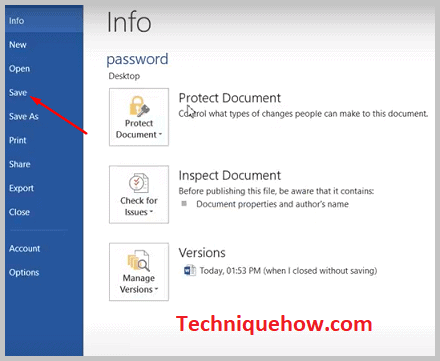
Now it’s done. You’ll be able to open the file from now on with no password.
4. Using 7-ZIP software
You can even use the zip software for zipping the document and then remove the password protection. This is an excellent way to use free software to remove passwords from Word documents.
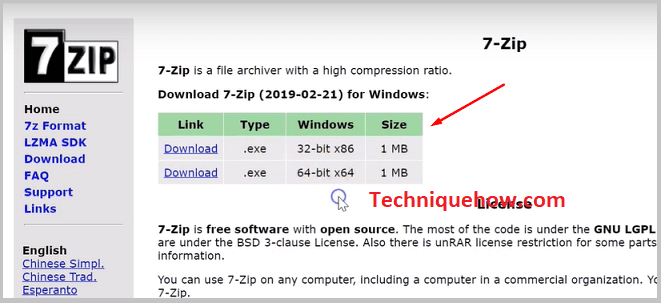
You need to install the ZIP utility or 7-ZIP software on your computer to perform this technique. If you don’t have these two tools, you can even download any zip software to perform this technique of zipping the Word document and then do some changes to remove the password.
Note: Before you proceed with the steps just make a copy of the document before you start the process.
🔴 Steps To Follow:
Step 1: For the first step, you need to be sure that your selected word file which is password protected has the latest.docx type.
Step 2: Change the file type from .docx to .zip.
Step 3: Then click on the Yes option on the prompting warning box.
Step 4: Now you’ve to open the file using 7- Zip, to do that you need to right-click on the selected file and then open the folder archive.
Step 5: Now you’ll be able to access the locked files through the 7 -ZIP utility.
Step 6: Next, you need to navigate to the settings.xml file and click to delete it.
Step 7: Next press Ctrl+S to save the file and then click on the close button.
Step 8: Update the archive by clicking on Yes and then Close it.
Step 9: Now rename it to .docx again and you’ll be able to open it without a password.
