✎ Key Takes:
» You can find pending message requests on Messenger by checking the “Message Requests” section, either through friend requests or by managing messages marked as spam.
» You can use the option to accept requests without replying by navigating to the “Chats” section after sending a friend request or unignoring a message from spam.
» If you want to maintain privacy while accepting requests, use “Vanish Mode” in Messenger by swiping up in a chat, holding the screen, and letting go. This feature ensures that messages disappear after being seen, preserving your privacy without the need for explicit replies.
Contents
How To Accept Facebook Message Requests Without Replying:
There are a few methods that you can try to accept Facebook Message Requests Without Replying:
1. Blank Message Without Replying
If you have been ignoring someone’s message for a while and wish to put a subtle end to it, you have to go to the Message Requests section and move the chat to your inbox so that it’s more accessible to reply later on in the future. The steps below will guide you through.
Step 1: Go to Messenger > Profile icon
The first step you have to follow to unignore someone’s chat is to open the Messenger app from your phone’s home screen. You will find yourself in the “Chats” section of Messenger, where you will see the conversations of all the users you chatted with.

You have to now turn your attention to the top right corner of the screen, where you will find a three-line icon. You have to tap on it. Consequently, you will reach the “All chats” section of Messenger.
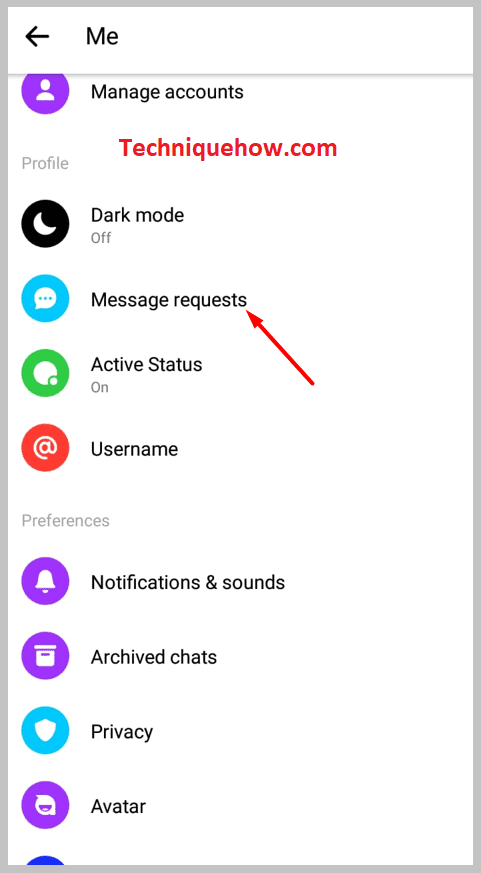
Step 2: Go to “Message requests” > “SPAM”
Now that you are in the “All chats” section, you will see one called “Message requests” in the three options. You have to tap on this option to reach a tab full of chats you can’t see in your inbox. You will be in the “YOU MAY KNOW” section with messages from people that the app thinks you may know but haven’t added.

On the top, you will notice an option that says “SPAM” and tap on this option. You will reach the spam folder, where you will find all the chats and message requests you have ignored till now.
Step 3: Reply to move the chat to the inbox
Once you are in the “SPAM” section, you will have to find the chat you wish to unignore by scrolling. When you find the chat, open it and send them a reply.

Send a Blank Character & move it from the “SPAM” folder to the “Chats” section.
2. Try Adding the Person
To accept Message Requests in Messenger without replying, you can send the person a friend request and the chat might move to inbox.
You can cancel the request instantly but the chat will not move to spam again.
3. Unarchive the Chat
If you had archived someone’s chat in the past, you will not find it in the inbox section of Messenger. If you want to unarchive, you have to go to the archive section and unarchive the particular chat by pressing and holding on to it. Alternatively, you can reply to the archived message and notice the chat will be removed from the archive and added to the inbox section.
Step 1: Open Messenger > Profile icon
The first step that you have to follow is to open the Messenger app on your mobile device. You will be on the main page of Messenger, the “Chats” section. Here you can see all the conversations you have had on this app.

At the top right corner of the screen, beside the text “Chats”, you will notice an option that resembles three horizontal lines. You have to tap on this option. The “All chats” tab will open in front of you.
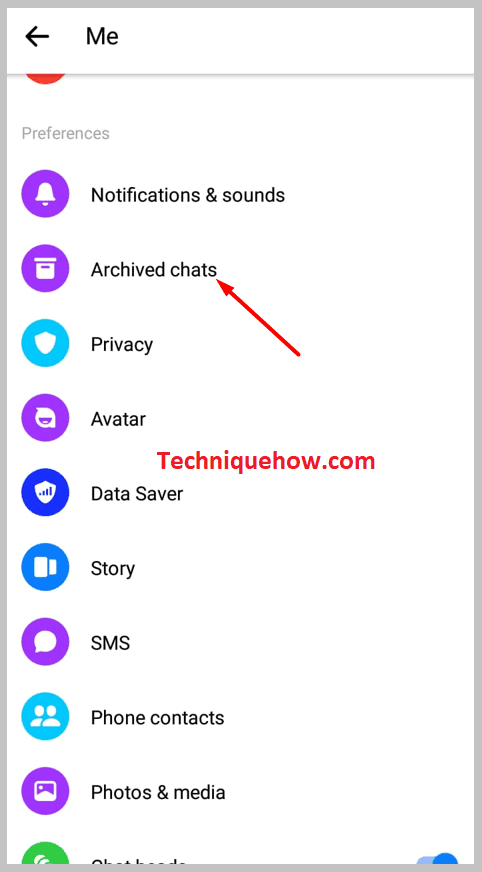
Step 2: Go to “Archive”
Under the “All chats” tab, you will see options relating to accessing all kinds of chats on your app, including the ones from the “Chats” section, “Message requests”, as well as “Archive”. You have to tap on the option that says “Archive”.
Step 3: Tap on “Unarchive”
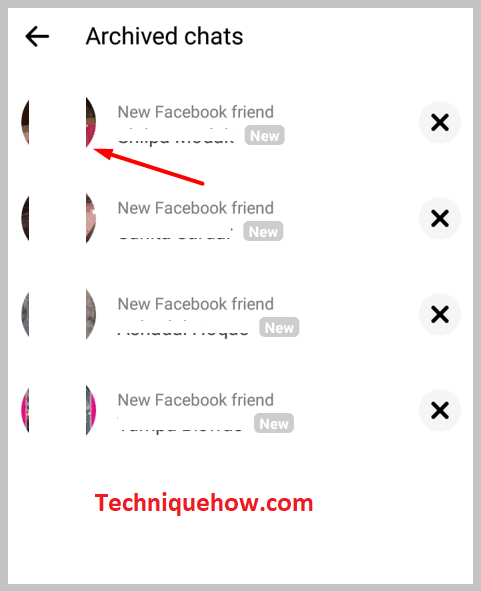
Now that you are in the “Archive” section of Messenger, you will notice that all the chats you have ever archived are here.
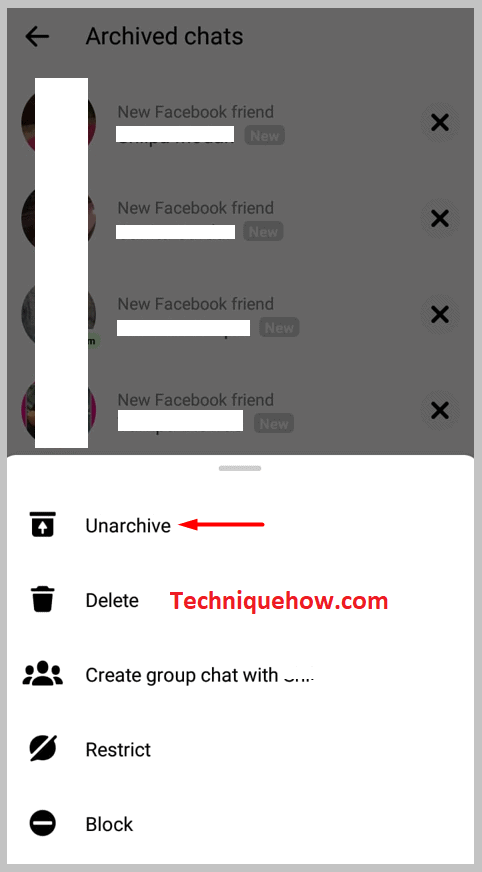
Tap and hold on to the chat you want to unarchive. You will see two options appear at the bottom of the screen. Tap on “Unarchive”. The chat will be moved to the inbox section instantly.
Frequently Asked Questions:
1. Where are the Hidden messages on Messenger?
There are two places where you might find hidden messages or just messages that you aren’t finding in the “Chats” section. They can be in the “Archive” section, which you can access from the Three Lines icon on the top right corner of the screen.
They can also be in the “SPAM” section of Messenger, which you can access from the three-line icon; it can be found more specifically in the “Message requests” section. Therefore, in summary, you can find the hidden messages either in the “Archive” or “SPAM” sections.
2. What is Vanish Mode on Messenger?
Vanish Mode is a feature developed recently by Facebook. “Vanish Mode” ensures a message or messages are deleted as soon as the receiver has viewed them. This is useful for sensitive and highly private information as it ensures no one else can view it.
In summary, when a Messenger user turns on “Vanish Mode” in a particular chat, the messages will be deleted after the person opens or sees the message and leaves the chat.
It does not matter if they just entered the chat by mistake or deliberately, and whether they saw the message or not, the message is going to get deleted to ensure privacy. You will also know if they took a screenshot of the chat.
