Sometimes, when people receive an Email, they cannot tell who the real sender is. It can happen when a message arrives without a name, or when a business wants to confirm a new lead before replying.
Email is one of the most used communication tools in the world, yet it is also one of the easiest places for confusion, mistakes, or scams to happen. When a person knows how to check the owner of a Gmail account, it is easier to reply safely, protect personal information, and keep communication professional.
There are many techniques anyone can learn, and some methods use information hidden within Gmail itself. These techniques use publicly available signals that help link an email address to a person, business, or online identity. Even simple steps like checking a profile picture, searching for a few words, or analyzing the other information in an email can reveal helpful details.
How To Find Out Who Owns This Gmail Account?
Finding out who owns a Gmail account can help you verify unknown messages, avoid scams, or confirm a sender’s identity.
While Gmail does not openly show personal details, several effective methods, like email tracing, online searches, and other techniques, can help identify the real owner behind a Gmail address.
1. Search the Gmail Address on Google
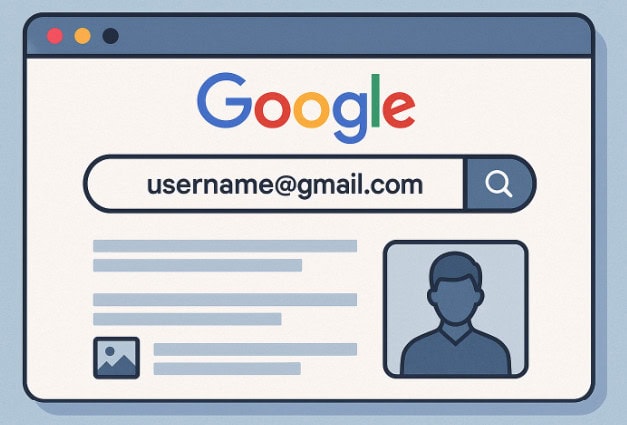
Google itself is like a giant library of online information. Because Gmail addresses are often used on different platforms, forums, and websites, the simplest way is to input the Gmail ID directly inside the Google search bar and check the results that appear.
This method works because many individuals use the same email ID when registering for social media accounts, job boards, business listings, or comment sections. When Google indexes these pages, they sometimes display the email or connect it to a name or profile. This makes the search engine a natural tool for identifying a sender without needing extra software or tools.
Also, Gmail IDs are often used for work and appear in directories or online company pages. For example, a small business website may list team members along with their emails, and Google can detect this information. Even if the email does not appear directly, related keywords from the line might connect to an online username, social media handle, or public file.
Some people also attach their Gmail to blogs, personal pages, or community groups, and this is a digital breadcrumb that Google indexes and is helpful for easy discovery. This approach does not always give perfect results, especially if the owner keeps it very private online. All of these increase the chance of finding clues about the Gmail account owner.

2. TechniqueHow’s Reverse Lookup Service
Some situations require more than a simple search, especially when a Gmail ID leaves no obvious public details. This is where TechniqueHow’s Reverse Lookup Service becomes useful. Instead of relying on automated databases that show limited results, this service processes requests manually.
Human-Verified
Email Lookup Solution
We manually investigate email addresses using trusted sources to uncover real owner details, ensuring accuracy beyond automated tools.
🚀 Get Lookup Results
A team member checks multiple data sources, online records, open web traces, and identity indicators to uncover information connected to an email address. Because the process is done manually, it avoids the common problem of false matches that appear on automatic lookup sites. The goal is to give a clearer understanding of who might be behind a Gmail ID, along with any additional hints that help confirm the identity.
This service becomes valuable when someone wants deeper insights without breaking privacy rules. It works by searching legally accessible records, social platform trails, publicly visible metadata, and cross-referencing online activity linked to the email.
Manual review makes the results more accurate because a human can recognize meaningful connections that automated tools might ignore. For example, small writing patterns, usernames used repeatedly, or matching domain registrations help build a profile of the possible owner. This method also helps when a Gmail address has been used for business communication because professionals usually leave more online footprints.
Users simply submit their Gmail addresses and wait for the manual review to finish. This helps people who receive suspicious messages, freelancers who want to confirm new clients, or businesses verifying leads before investing time into conversations.
3. Check the Sender’s Google Profile
Gmail owners connect their email address to a Google account that holds a public profile. This includes information like a profile photo, full name, YouTube activity, or other Google products where public details appear. When someone receives an email through Gmail, clicking the profile icon near the sender’s name sometimes reveals a picture or display name.
Even though this is not guaranteed, it is still one of the easiest ways to get a first impression of the person behind the account. Many people leave their default settings unchanged, meaning basic identity information becomes visible without any advanced search.
This method helps because Google links many services together, allowing the same account to appear across features. If the sender uses Google Meet, Google Drive sharing, or Google Photos albums, the attached name may also appear when they interact with you. Sometimes the picture or name displayed in Gmail is different from the email username, and that difference can provide a clear clue about who owns the account. A Google profile may also be connected to maps contributions, reviews, or public comments made on Google services.

4. Analyze the Gmail Header Information
When someone needs deeper technical clues, the Gmail header becomes a valuable resource. This header is not visible in the normal email view because it contains background information such as the sending server, security checks, and routing path. By clicking “Show original” in Gmail, anyone can access this data. Inside the header, details such as sending IP, authentication signatures, and mail-handling paths can appear. While the owner’s personal identity will not directly show up, the technical trail sometimes links the message to a company server, geographic region, or email service provider used by the sender.
This helps especially when emails look suspicious or when a person wants to confirm whether a message truly comes from a business. For example, if an email claims to be from a company but the header shows it was sent from a private server or an unfamiliar location, the message might be fake. IP traces can also hint at where the email originated, though VPNs and security filters sometimes hide accurate locations. The header may also show whether the Gmail account is using custom business domains through Google Workspace.
Even without technical knowledge, small signs like the “mailed-by” field and “signed-by” field give useful hints. When these fields match the company the sender claims to represent, the email is more trustworthy.
5. Look on Social Media Sites
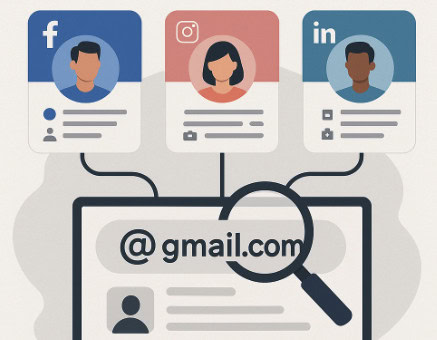
Some Gmail account owners use the same address when creating profiles on social platforms. A quick way to learn more about someone is to try the email on major networks like Facebook, Instagram, or LinkedIn. Many platforms allow email-based user searches or show profile suggestions if the address was ever used for registration or recovery. Even if no direct match appears, searching the username part of the Gmail address often reveals related profiles.
Another advantage is that social media profiles contain rich identity data. When an email connects to a public account, the profile may show the person’s name, photo, job title, workplace, or location. These clues help determine whether the Gmail sender is a real person or an impersonator. When someone posts business content or shares professional updates, those details help confirm credibility.
Even without direct email matching, small hints like profile pictures, shared usernames, or repeated nicknames can create strong identity links. This technique becomes useful when the sender has an unusual email name because uncommon usernames often appear in multiple places.

6. Gmail Account Recovery Page
Gmail’s account recovery system is built to help users regain access to their accounts, but it sometimes reveals small hints that assist with identity confirmation. When someone enters a Gmail address into the recovery form, Google may display masked details like the first letter of the owner’s name, part of a phone number, or a partially hidden backup email. For example, if the recovery page shows a backup email with a corporate domain, the Gmail user may be related to a company.
If the Gmail account appears brand new or lacks normal recovery details, it may be a temporary or suspicious account. On the other hand, accounts that have established recovery options usually belong to genuine users. The recovery process does not allow anyone to access private information, but those small clues offer context that assists with decision-making.
If the Gmail address belongs to a service provider or customer contacting your business, the recovery hints may help determine whether the email aligns with their identity. When combined with other methods such as search engines, social media checks, or header analysis, the recovery page becomes part of a broader validation method.
7. Search the Username Portion of the Gmail Address
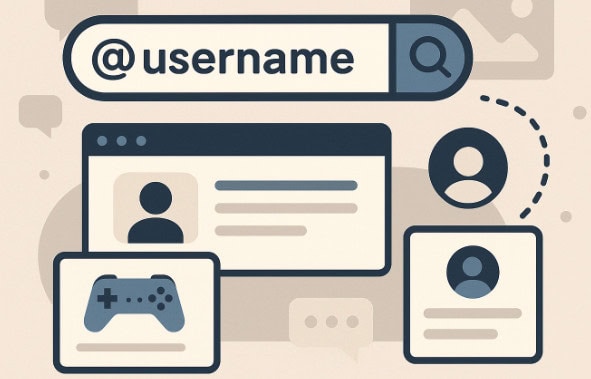
The part of a Gmail address before the “@” symbol often acts like a unique username. Searching this username separately on Google, forums, or social platforms can help find profiles connected to the same string of characters. This may work because people commonly use the same username pattern in multiple places, especially when building accounts across different websites. If the Gmail user chooses a unique combination of letters or numbers, the chance of identifying matches increases significantly.

This technique helps because usernames often appear in online communities, gaming sites, review sections, or small blogs where people post comments. Although the Gmail address itself might not appear, the username trail can lead to names, photos, interests, or locations shared publicly. When these elements match details from the received email, the identity becomes easier to confirm. Some people also use the same username for professional platforms, making it possible to link a Gmail account to a resume, job profile, or portfolio.
If the username appears across several years on different sites, it suggests the email belongs to a real person. If no results appear anywhere, it may indicate a newer or intentionally private account. This method provides an effective layer of verification without requiring technical skills or paid services.
8. Contact the Company Connected to the Gmail Domain
Sometimes a Gmail address includes hints about a business or organization, especially when the username reflects a brand, department, or employee role. For example, an address like [email protected] or [email protected] that suggests a business connection. When that happens, the simplest way to identify the owner is to reach out to the company directly. Most businesses keep track of email accounts used for customer support, hiring, marketing, or operations. If you call or email the verified company contacts, they can confirm whether the Gmail address belongs to their team.
Many companies use Gmail instead of custom domains because it is easier to manage, especially for small or growing businesses. When a message arrives from a Gmail address claiming to represent an organization, checking with the company prevents misunderstandings and ensures you speak to the correct person. It also protects against scammers who impersonate businesses using Gmail accounts.
To use this method, someone simply searches the official website, finds a contact number or support address, and politely asks whether the Gmail account is legitimate. Most businesses appreciate the effort because it prevents fraud and protects their brand. This method is safe, direct, and effective, especially when other online methods do not reveal enough information.
9. Ask the Sender Directly for Identity Confirmation
One of the simplest methods is reaching out to the sender and asking for clarification. If the message appears neutral or business-related, politely asking for more information can resolve confusion quickly.
They may provide their full name, role, company, or purpose of contact when asked directly. Even a normal conversation can reveal whether the sender feels authentic, based on their tone and willingness to provide details.
This technique is particularly useful when dealing with clients, coworkers, or new business connections who forgot to include signatures or introductions. Instead of searching for complex clues, simply requesting clarification saves time. The response often contains enough information to confirm their identity. If the sender becomes defensive, avoids answering, or replies with unclear statements, it might indicate that something is not right, giving you a chance to proceed more carefully.
Frequently Asked Questions:
Yes, you can identify a Gmail owner without contacting them by using online tools and indirect lookup methods. Searching the Gmail address on Google, social media platforms, and public directories often reveals associated profiles or usernames. You can also check email headers for technical clues or use reverse lookup services that examine digital footprints. While these methods won’t always provide a full identity, they can give strong hints about whether the account belongs to a real person or a suspicious sender.
Yes, several free methods can help you check the Gmail account owner. You can search the email on Google, explore social media platforms for matching profiles, or check whether the Gmail name appears in public documents or directories. Free browser extensions like Hunter.io sometimes reveal limited information.
Reverse lookup services analyze multiple online sources to gather information connected to a Gmail address. They check social profiles, public databases, online mentions, old registrations, and leaked data to form a profile of the possible owner. Some services offer manual investigation for higher accuracy. Although they may not always reveal full personal details, they often uncover helpful clues like names, usernames, locations, or linked platforms. These services are valuable when other methods fail or when you need deeper verification.
No, Gmail will not reveal personal information about the account owner, even if you report or flag an email. Google’s privacy policies prevent sharing identity details. However, reporting helps Google investigate misuse, phishing, or spam. If the account violates policies, Google may suspend or disable it. Although you won’t receive the owner’s identity, reporting protects your account and helps prevent similar suspicious emails from reaching you in the future.

