✎ Key Points:
» To cancel the friend requests in one click, if you’re on a PC just open developer mode & put the HTML code into the console, and hit Enter.
» This will cancel all the requests that you have sent to the people on Facebook. You can perform this on Windows PC and macOS.
» Facebook shows you multiple people’s suggestions to add to your friend list. If you’ve sent too many friend requests and most of them did not accept the request, you can revoke those all.
Contents
How To Cancel All Sent Friend Request On Facebook In One Click:
If you’re on the desktop you can now cancel all requests at once with one click.
1. Cancel All Sent Requests on Facebook Extension
You can use the “Cancel All Sent Requests on Facebook” extension to cancel all your sent friend requests on Facebook in one click.
This extension provides a convenient way to manage your friend requests without manually canceling each one.
🔴 Steps To Follow:
Step 1: First, go to the extension’s website: Cancel All Sent Requests on Facebook Extension.
Step 2: Then, find the option to “Get Started” on the website.
Step 3: Click on “Sign In” to log in to your Facebook account.
Step 4: Now, you can use the extension to cancel all your sent friend requests with a single click. This tool automates the process and saves you time and effort.
Step 5: You’ll find the necessary options to execute the cancellation of all sent friend requests.
2. From Your PC
This is done through the mobile version used on PC. It can be a Macbook or Windows PC to perform the mass cancellation of sent friend requests.
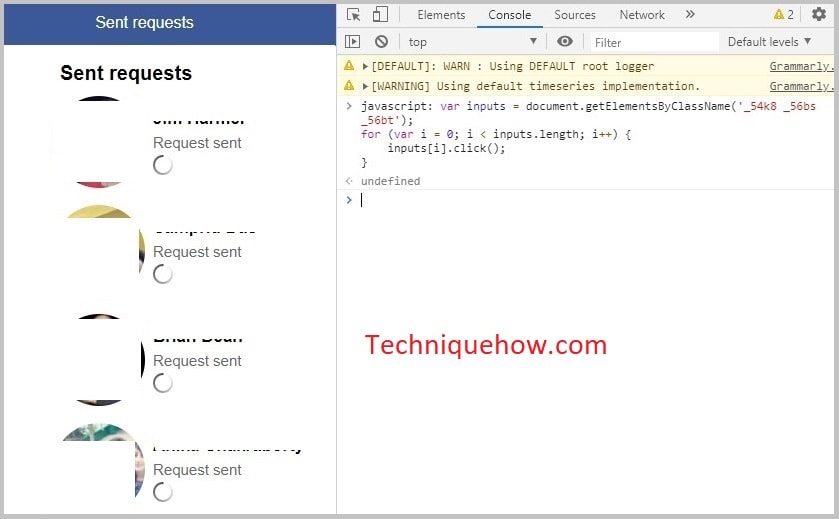
Just follow the simple steps to cancel all requests on PC in one tap:
Step 1: Open your Facebook on your Chrome or Safari browser & go to: https://m.facebook.com/friends/center/requests/outgoing/#latesteditor.
Step 2: You have to open the developer mode on the browser. For Windows PC press Ctrl + Shift + I from the keyboard and for macOS press ⌘ + ⌥ + J at the same time from the keyboard. The system will open the HTML version, also you can right-click and hit on ‘Inspect’.
Step 3: Now, in the console section copy & paste the following code:
javascript: var inputs = document.getElementsByClassName(‘_54k8 _56bs _56bt’);
for (var i = 0; i < inputs.length; i++) {

inputs[i].click();

}
Step 4: Finally, hit the ‘Enter’ button on the keyboard.
Now your all requests will be canceled in a few seconds.
If you can’t understand the settings you can change your Facebook language.
3. Manually Canceling On Mobile
If you’re on mobile you have the manual ways to open the app and cancel the sent requests from the settings. It’s easier if you have very few people in your sent request.
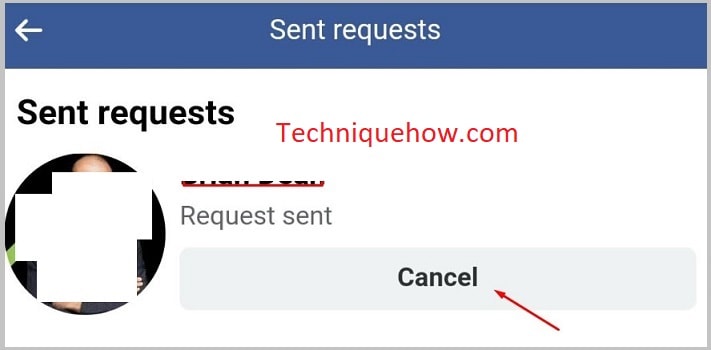
To cancel the sent requests just follow the steps,
Step 1: Tap on the ‘Friends icon’ on the top bar.
Step 2: Then find the ‘Friend requests’ tab on the top.
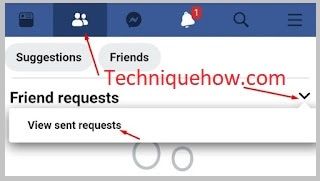
Step 3: Now, tap on the ‘View sent requests’ and you will see the people’s names.
Step 4: Once you tap on the ‘Cancel‘ button, the request will be revoked.
🔴 Limitations:
You have to perform this action for each people one by one. On your mobile, you can’t edit the console using developer mode.
👊 When to Perform:
If you have very few sent requests on your Facebook and can take this effort, this would not take much time in case of fewer requests are sent.
How to View Sent Friend Requests on Facebook:
Try opening the full list in a full window on your PC.

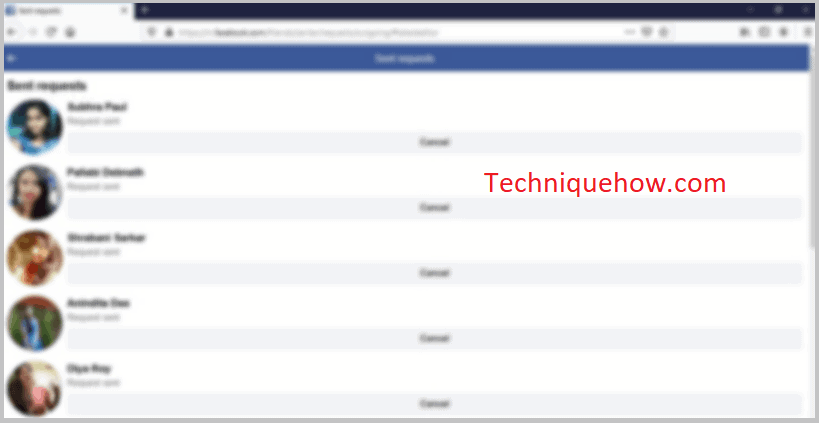
🔯 On PC:
Follow the simple steps if you’re on a PC:
Step 1: First of all, go to Facebook.com and log in.
Step 2: Now click on the Friends icon and then click on ‘View sent requests’.
Step 3: You will see there all of the pending requests.
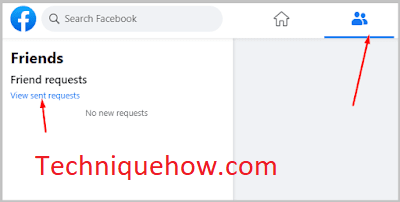
🔯 On Mobile:
Just follow these steps from your Facebook app:
Step 1: Open the Facebook app while logged in with your account.
Step 2: Now, tap on the ‘Friends icon’ and once you tap onto the arrow on the Friend requests section, you’ll see ‘View sent requests’.
Step 3: Just tap on the ‘View sent requests’ and you’ll be able to see all of the pending requests.
What Happens if you Cancel Sent Friend Requests on Facebook:
If you cancel your sent friend request on your Facebook, all of the things are not affected even the users cannot get notices in some cases:
1. About Getting Notification
If you are looking for the answer to the cancellation of the sent friend requests or your friend list, you need to know that the person would not get a notification if you cancel the sent request or delete him from the friend list.
2. Following the Person
If you don’t know what happens when you send a friend request, you are already following that person automatically. This is the default setup of Facebook that enables one to follow the profile you add as a friend even after the person did not accept your request.
3. Messages Location
When you are on the waiting list for someone’s friend request your sent messages will be on their message requests as well. That means if you send a message to a person who is not on your friend list will appear in the request section under the messages section instead of appearing on the chat.
