✎ Key Takes:
» You can expect Airbnb ID verification to take around 24 hours, with approval often happening much sooner, but delays may occur.
» Upload your government ID through the Profile Information section on Airbnb, ensuring you capture both the front and back pictures for verification, followed by a selfie for facial confirmation.
How long does Airbnb ID verification take:
Your Airbnb ID verification can take not much longer than 24 hours. However, you’ll find that when you’ll place it for approval, it will get approval far sooner than 24 hours in most cases.
If you see after waiting much longer than 24 hours your Airbnb ID is not getting approved, you need to understand that there is something wrong with the ID that you’ve provided which is why they have not accepted or verified it. Check the verification status from your Airbnb profile tab and then you can contact that customer helpline service.
What is the Airbnb host verification process:
Here is the process:
Step 1: Download, Open and Login
You need to download the Airbnb app from the Google Play Store or App Store on your device by searching for it.
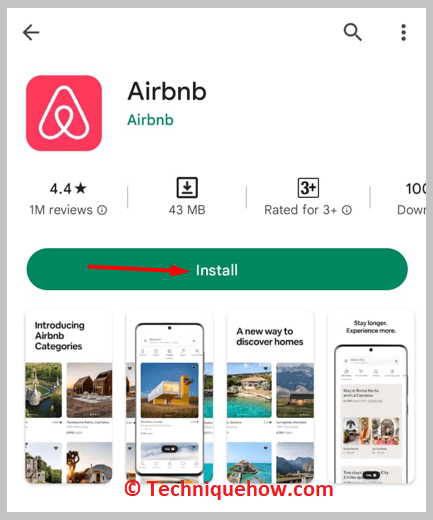
Once it is installed, click on the Open button and you’ll be able to open the app. After you’ve entered the app, log in to your Airbnb profile by entering the login credentials correctly.
Step 2: Click on Profile > Personal information
After logging into your Airbnb profile, you’ll need to click on the PROFILE option from the bottom right corner of the screen.
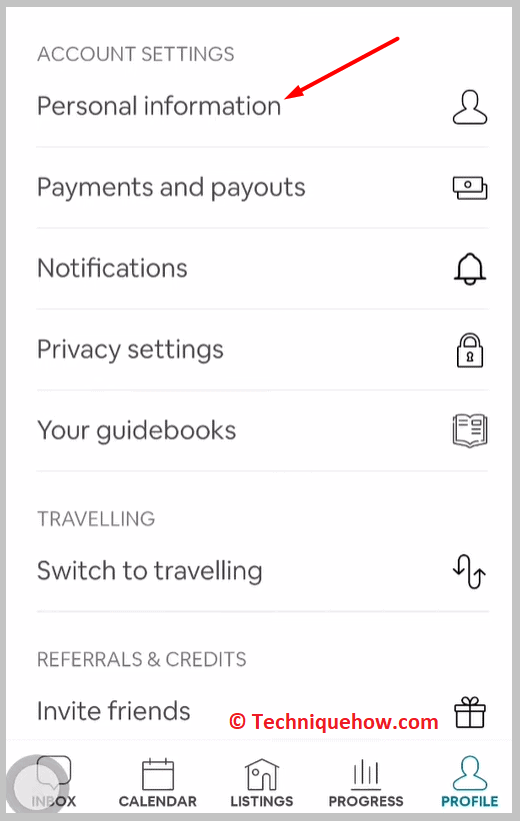
Then you’ll be taken to the Account Settings page. On the Account Settings page, you’ll need to on Personal information. It will show you a list of options on your page.
Step 3: Click on Add next to Government ID
Once you click on Personal information, you’ll be taken to the Edit personal info page. You’ll be able to edit your profile details on this page.
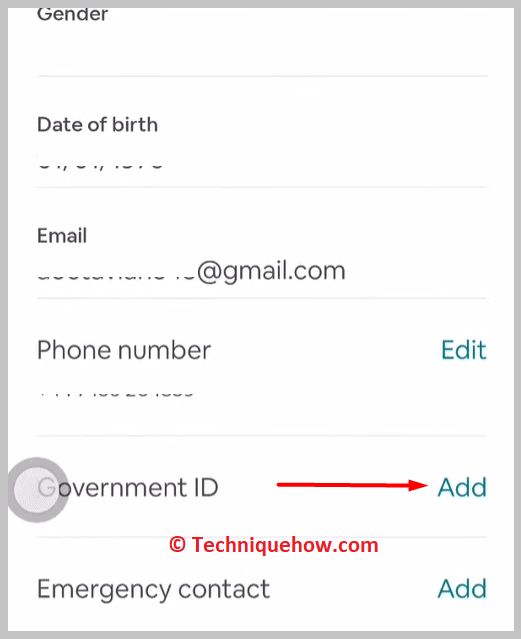
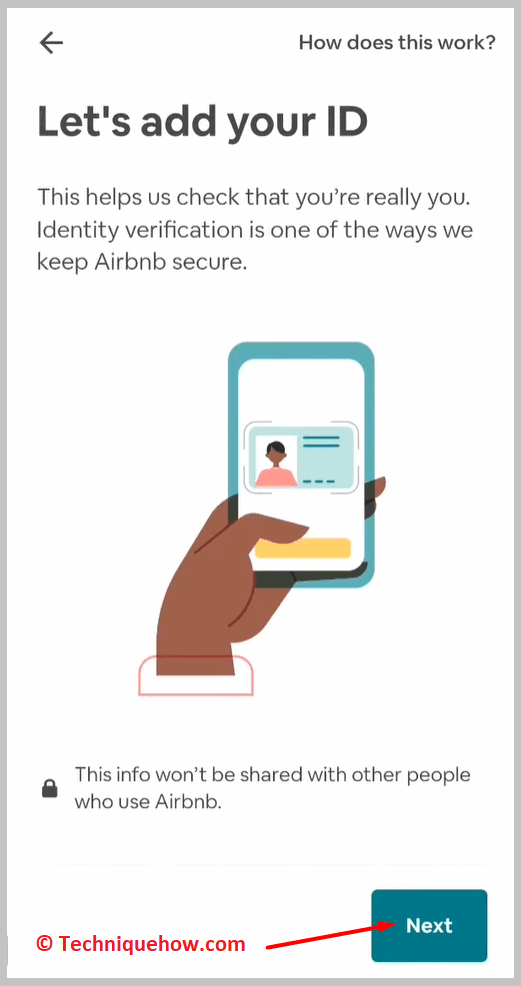
You need to scroll down the page and you’ll find the Government ID header. You’ll see an Add button next to it. Click on it then click Next when it says Let’s add your ID.
Step 4: Select the type and Add an ID
You’ll see a header that says Select an ID type to add. Under it, you’ll find different ID options from which you’ll need to choose which one you want to upload for your verification.
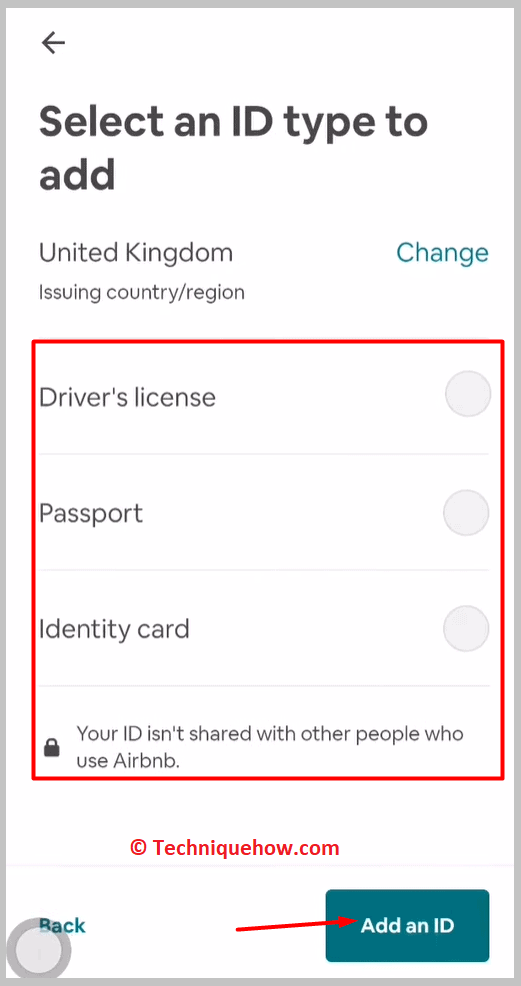
You’ll be given the option of a Driver’s license, passport, and Identity card. Then you need to click on the green Add an ID button.
Step 5: Click on the capture
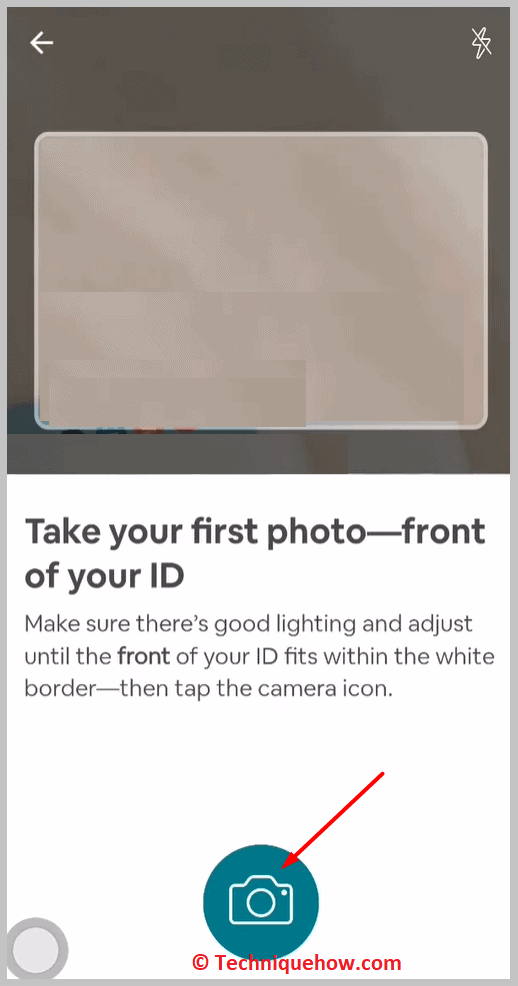
You’ll be taken to the next page that says Take your first photo- front of your ID. You need to click on the capture button that looks like a camera sign to take the picture.
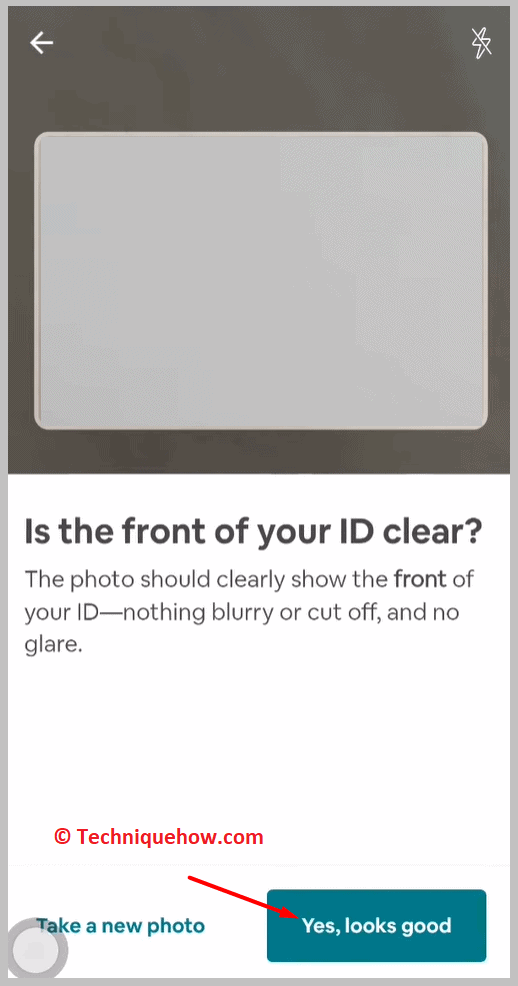
Then click on the Yes, looks good button to finalize it as the front of your ID proof.
Click on the capture button to take the second picture, the back of the ID.
You need to turn the ID card or the ID proof backward for the next picture as it will ask you to click the picture on the back of your ID proof.
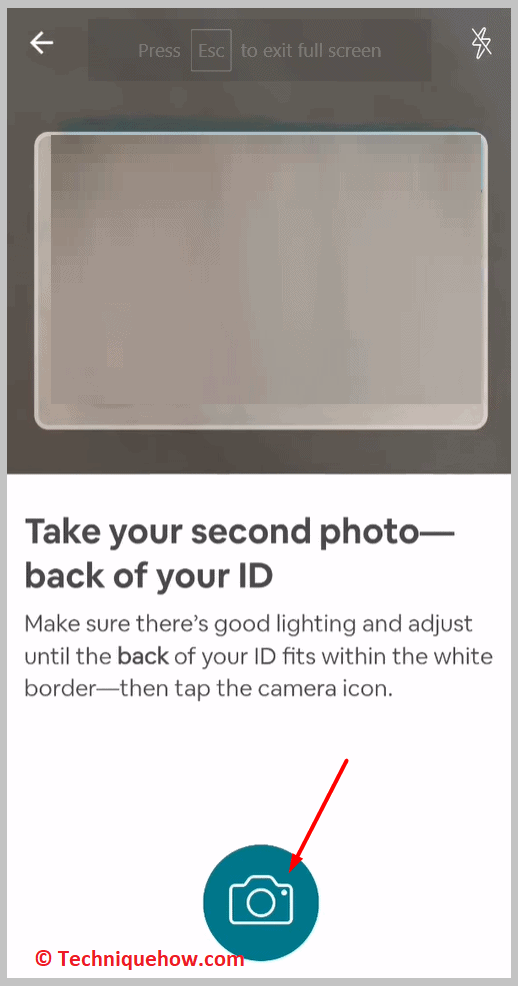
You’ll need to click on the Capture button that looks like a camera sign to take the picture and then finalize it.
Step 6: Face verification and submit
After you’ve submitted your ID proof, you’ll be asked to take a selfie of your face using the camera of the Airbnb app. The owner of the account will need to take the selfie and upload it.
If the face of the ID doesn’t match the selfie, your account will be blocked. Once you upload the selfie submit it and wait for your ID to get verified.
