✎ Key Points:
» You can see the notification “Sorry there was a problem with your request” on Instagram, often due to cache issues or IP blocking, visible in the Settings under “Security.”
» You can use options like clearing cache, reinstalling the app, or switching to mobile data from Wi-Fi to resolve the problem. Additionally, consider linking a new Facebook account through the “Accounts Centre” to address the issue.
» If you face login problems, tap on “Forgot Password,” reset through the received link, and log in again to eliminate the error.
Contents
Why Does It Show Sorry There Was A Problem With Your Request Error:
Here are some reasons:
1. Cache Issue on App
You can see the notification “Sorry there was a problem with your request” when there is an issue with your cache.
Usually, when you deal with this problem, the error notification instantly goes away; sometimes, this is one of the many reasons why the error notification is seen.
The cache is storage for app memory which means that it saves all that you do on the App for a temporary period.
Sometimes when the cache becomes too large, the App’s performance worsens and ultimately causes problems like the one you are facing now.
2. Instagram Server Blocked Your IP
The Instagram server has likely blocked your IP address which is why you see the notification “Sorry there was a problem with your request”.
Sometimes this may be an error on the part of Instagram, but in other scenarios, this happens when you log in to your account and log out very fast or if you just logged out of your account and somewhere else in the country, your account got logged into!
This is a measure taken by Instagram to ensure your account is safe and not being used by hackers. This is also to ensure that it is not a bot handling your account.
How to Fix Sorry There Was A Problem With Your Request Error:
Follow the below methods:
1. Clear Cache on Instagram
You can fix the problem of error “Sorry there was a problem with your request” by clearing the cache of the Instagram app.
🔯 From App History:
Go to the Instagram app, tap on the Profile icon, and then the three lines icon. Now tap on the “Settings” option and then on “Security”.
Tap on the option “Clear search history”. In the next tab, click on “Clear All”.
Tap the “Clear All” option again when you receive a verification prompt.
🔯 From Phone Settings:
Follow the steps below:
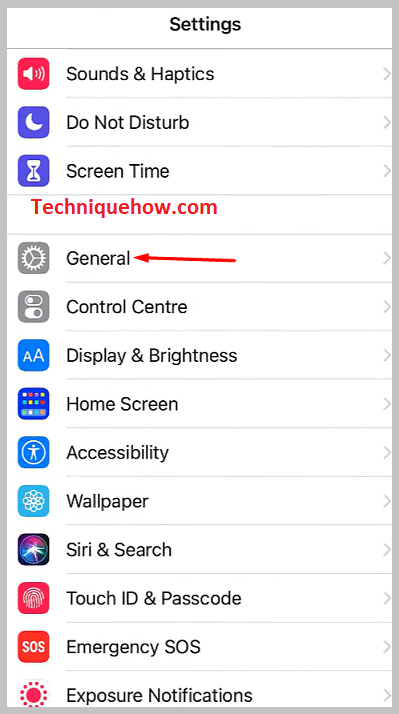
Step 1: Open “Settings”> “General”
From the home screen of your iPhone, search for the “Settings” icon. Tap on the icon and scroll down when you find the option “General” stop scrolling and tap on the option.
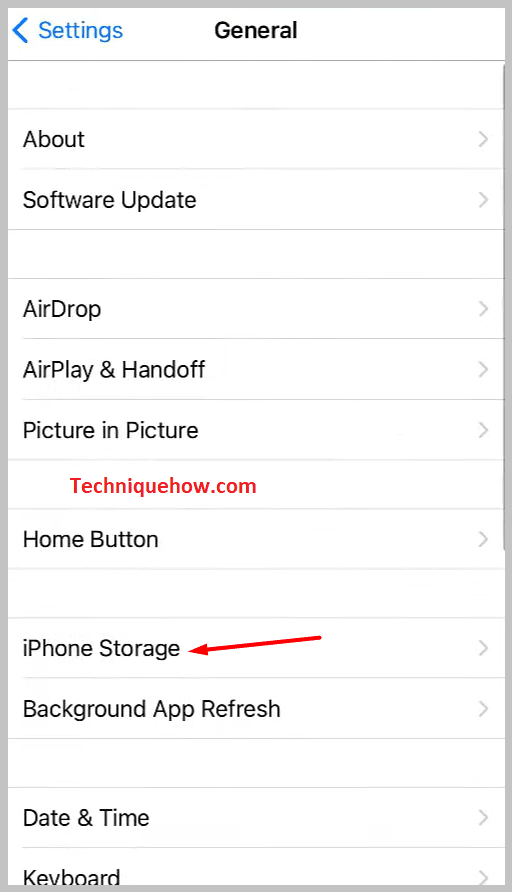
Step 2: Go to “iPhone Storage”
Here, you will see the option “iPhone Storage” tap on it. In the next window, there will be a list of all the apps on your device.
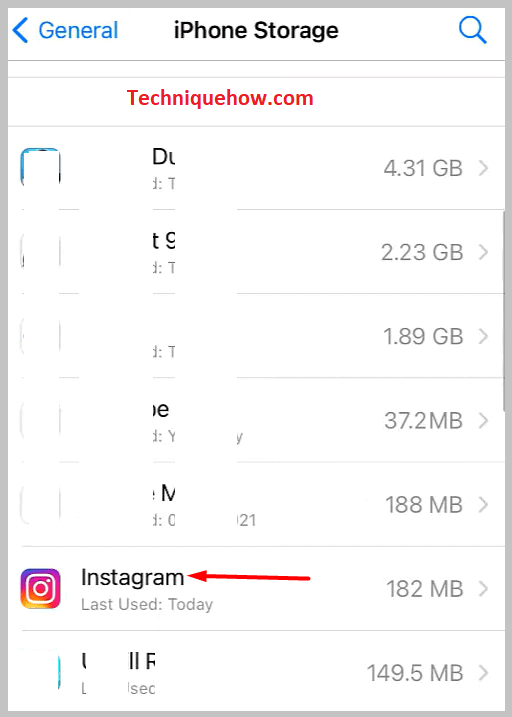
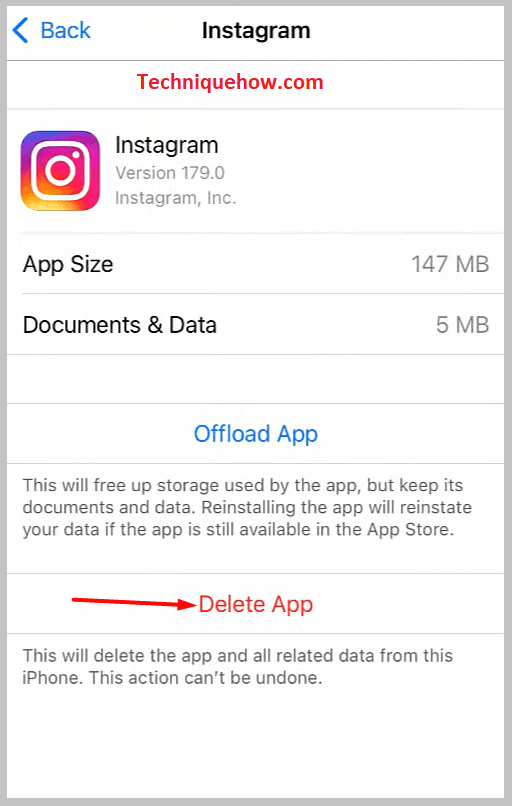
Scroll down until you find the “Instagram” app and tap on it. Here you will see the option “Delete App” at the bottom.
Tap on it; it will delete all the data and the App. Then you can install it again and log in. You will not get the error notification.
2. Reset Password for Instagram
You can solve the problem of seeing the error constantly by changing the password and logging in.
Step 1: Login page > “Forgot Password?”
Open the Instagram app and go to the login page. Here you have to tap on the option “Forgot Password?”.
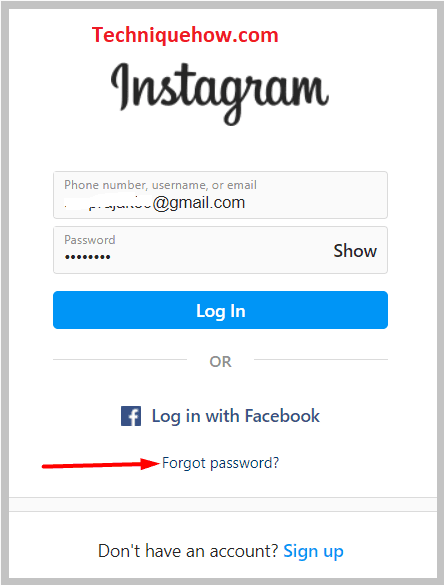
This option will be available to you if you are an iOS user or are using your desktop (if you are an Android user, you will see the option “Get help with signing in.”).
You will be asked to type in your email id, phone number, or username associated with the account.
Step 2: Go to the reset password link
Once you have typed this in the email or phone number related to your account, tap on the option “Next”.
Let us assume you typed in your phone number. Once you tap on “Next”, you will reach a new tab where you will see two options, “Log in with Facebook” or “Send an SMS message”.
Tap on the “Send an SMS message” option. You will receive a link to the phone number that you just typed in. This link will help you create a new password.
When you receive this link to reset your password, tap on it, and you will be asked to create a new password and retype it just for safety purposes.
This Password should include lower and uppercase alphabets, numbers, and special characters. Make the Password strong enough so that it is free from hackers. Also, ensure that you remember it this time.
3. Turn on & off flight Mode Or Switch to Mobile Data
Often the error occurs simply because of a network problem. This can easily be solved. You must scroll down on your phone screen and look for the flight mode option. Tap on this option to turn on the flight mode and instantly turn it off.
This will ensure that if any network problem occurred in the past, it would have been solved.
You can switch from wifi to mobile data if this does not work. Sometimes the wifi connection creates a problem based on location, etc., and switching to mobile data eliminates the problem.
4. Link A New Facebook Account With Instagram
You can easily link a new Facebook account with Instagram.
🔴 Steps To Follow:
Step 1: For this, you must first remove your old account by going to the three lines icon and tapping “Settings”.
Step 2: Then go to “Accounts Centre” and tap on your name.
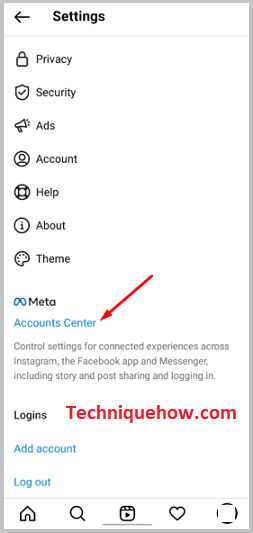
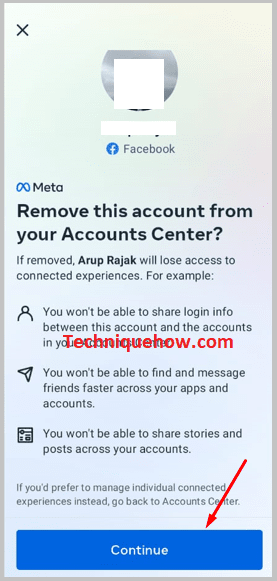
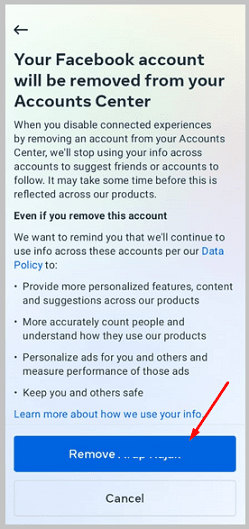
Step 3: Go to the older account you had connected and then to “Remove from Accounts Centre”, then select “Continue” and then “Remove [account username]”.
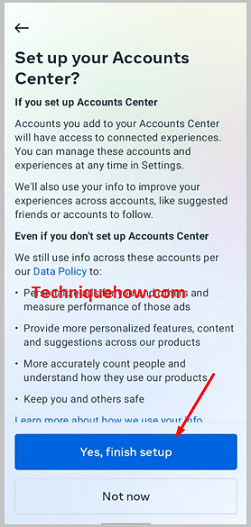
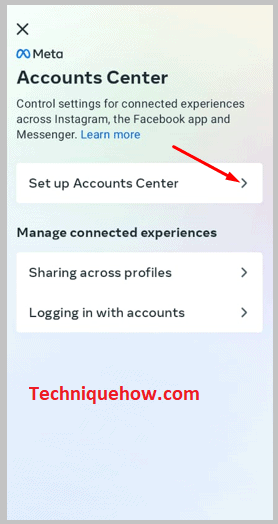
Step 4: Now you have to add a new account, come back to “Accounts Centre” in the “Settings” section and tap on “Set up Accounts Centre”.
Step 5: Go to “Add Facebook account” and log in to the new account that you want to connect to. In the end, select “Yes, finish setup”.
